Burnout Schedules Explained: A Beginner's Guide to Kiln Curves
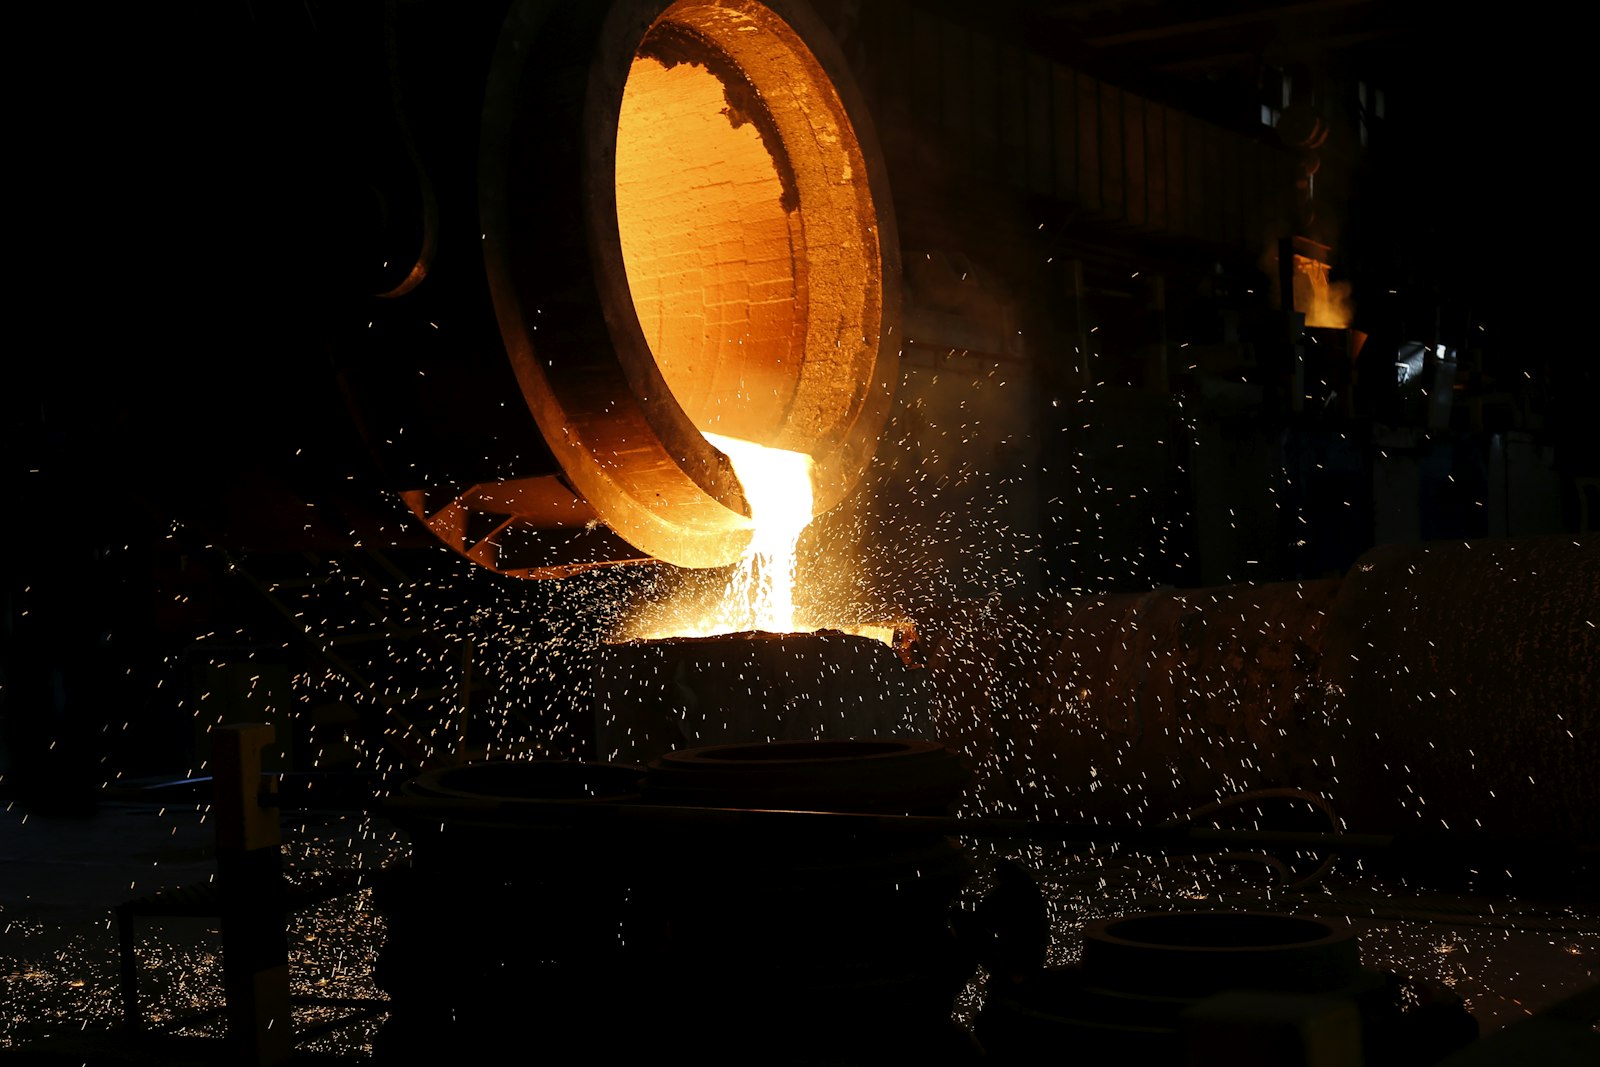
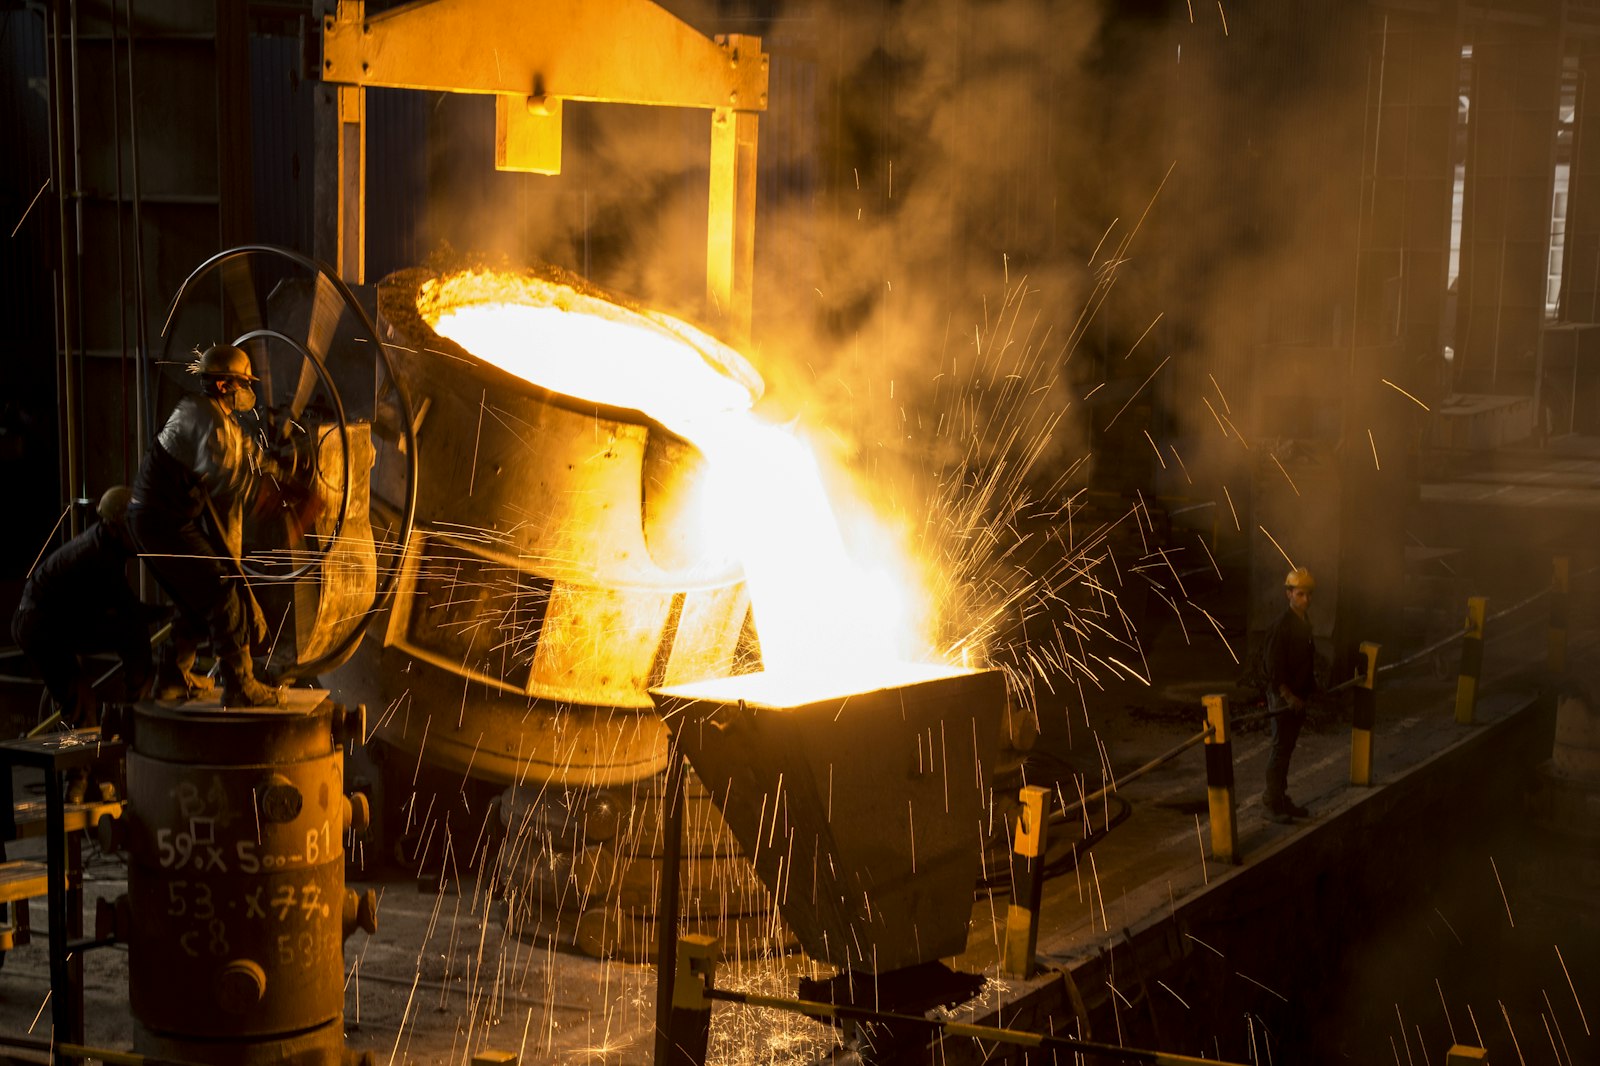
If clarity is the thing people notice first, burnout is the thing that determines whether they get to see it at all. A bad burnout can crack an investment mold before the metal ever gets poured.
Why the ramp matters more than the peak temperature
New casters tend to focus on the final burnout temperature and underrate how much the ramp rate — how quickly the kiln gets there — matters. Resin needs time to volatilize and escape the investment gradually. Ramp too fast and expanding gas has nowhere to go but through the mold wall, which is exactly how you end up with hairline cracks and rough, pitted castings.
A reasonable starting schedule
This isn't a substitute for your investment manufacturer's spec sheet, but as a general shape:
- Room temp to ~150°C, slow ramp — this is where residual moisture and low-temp volatiles leave the mold
- Hold at ~150°C for 30–60 minutes
- Ramp to burnout temperature (typically 700–730°C depending on investment)
- Hold at peak for at least an hour per inch of flask thickness
- Controlled cool to casting temperature — don't just crack the kiln door
The mistake we see most often
Skipping the low-temperature hold to save time. It feels harmless because the mold looks fine going into the higher ramp — the damage doesn't show up until the metal's already poured and you're looking at a casting with fine cracks radiating from the sprue.
One thing worth remembering
Your burnout schedule should be built around your slowest-curing formulation in a mixed batch, not your fastest. If Fast and Ultra pieces are going into the same flask, plan the ramp around Ultra.